Building a React app is the easy part.
Then the “real app” requirements show up:
- Users need to sign up and log in
- You need an API
- You need a database
- You need file uploads
- And at some point… you need to deploy the whole thing
If you’ve ever felt that backend wiring slows everything down, AWS Amplify is designed for you.

What is AWS Amplify?
AWS Amplify is a developer platform that helps you build, connect, and deploy full-stack web and mobile apps faster.
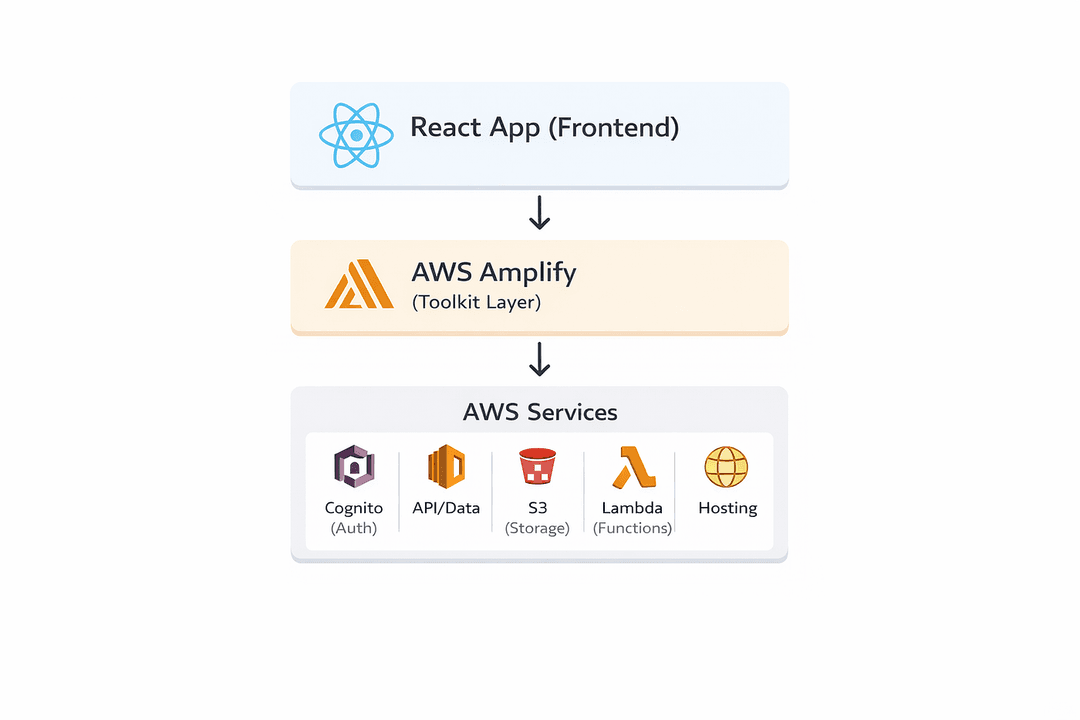
In practical terms, Amplify helps you add common backend capabilities like authentication, APIs, data, file storage, and hosting without manually stitching every AWS service together from scratch.
It’s not “magic,” and it doesn’t replace AWS.
It’s a developer friendly way to use AWS services with a workflow that fits modern app development.
Why do developers use Amplify?
Amplify is popular because it reduces the time spent on setup and glue code.
Instead of spending days on “infrastructure first,” you can:
- start with a working front end,
- add backend features in a predictable flow,
- and ship a real product faster.
It’s especially helpful when you want to move from a UI phototype to a production-ready app without building an entire platform team first.
What can you build with AWS Amplify?
Amplify is a strong fit for typical product-style apps, like:
- dashboards and internal tools
- SaaS apps with user accounts
- content portals
- upload-heavy apps (documents, profile images, media)
- event-driven workflows (upload → process → store results)
If your app needs “the standard full-stack set,” Amplify can cover a lot quickly.
Amplify’s core building blocks
Here’s how Amplify usually maps to common needs:
Authentication
Add sign up / sign in, password resets, MFA, and social login.
This is typically powered by Amazon Cognito behind the scenes.
Data and APIs
Create data models and connect your UI to structured data, so you can do CRUD actions like create, read, update, delete.
Storage
Upload and serve files like profile photos or PDFs.
This is typically backed by Amazon S3, with permissions managed for you.
Functions
Run backend logic or background jobs (e.g. : “when a file is uploaded, transcode it”).Usually powered by AWS Lambda.
Hosting and deployments
Deploy your app with a CI/CD style workflow so changes go live smoothly.
You don’t need to learn all of these on day one. But it helps to remember this:
Amplify is basically a clean entry point into these AWS capabilities.
A simple mental model: “full stack without the glue pain”
If you’re a React developer, here’s the easiest way to think about Amplify:
I wanted my UI to interact with real backend features, with a setup that stays consistent, scalable, and ready for production.
Amplify works best when you want to:
- ship features faster,
- keep your AWS infrastructure structured and maintainable,
- and build systems that are designed to scale.
The best beginner path: start with one small real app
If you try to learn Amplify by adding everything at once, things get messy very quickly.Instead, start with a small app that naturally grows to use multiple backend components.
Mini app idea: Profile Setup App
- User signs up / signs in
- User saves profile info
- User uploads a profile picture
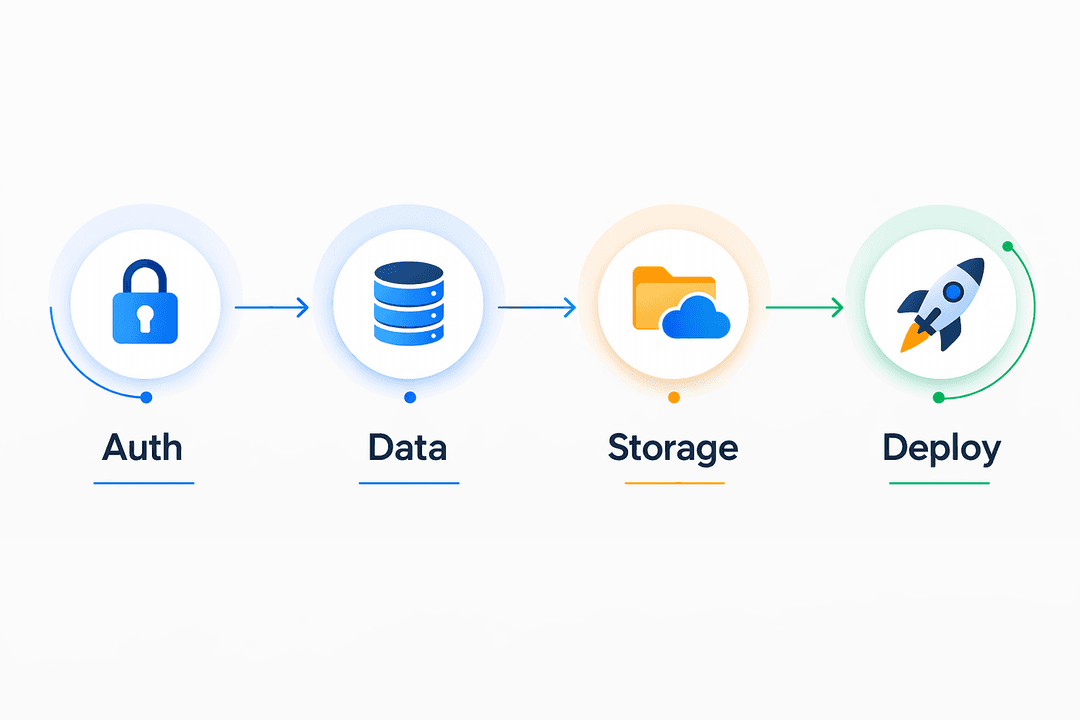
This teaches you the most important full-stack loop:
Auth → Data → Storage → Deploy
Getting started: the recommended flow (and why this order works)
1) Start with a basic React UI
You don’t need a perfect UI. Just a skeleton:
- a “signed out” screen
- a “signed in” screen
- a profile form
2) Add Auth first
Authentication is a great starting point. Once users have identities in the system:
- defining permissions becomes clearer,
- managing user-specific data is straightforward,
- and storage rules become much easier to design.
3) Add a simple data model
Add something like UserProfile with name and bio.
Now your app can store and retrieve real data.
4) Add Storage for file uploads
Upload the profile image, save the file key or path in the user profile record, and render it in the UI.At this point, the application starts to feel like a real product.
5) Deploy and test the real-world behavior
Deploying early teaches you practical stuff:
- environment configs
- build settings
- permission differences between local and hosted
- what “production-ready” really means
Common beginner mistakes
These are the mistakes that usually cost people hours.
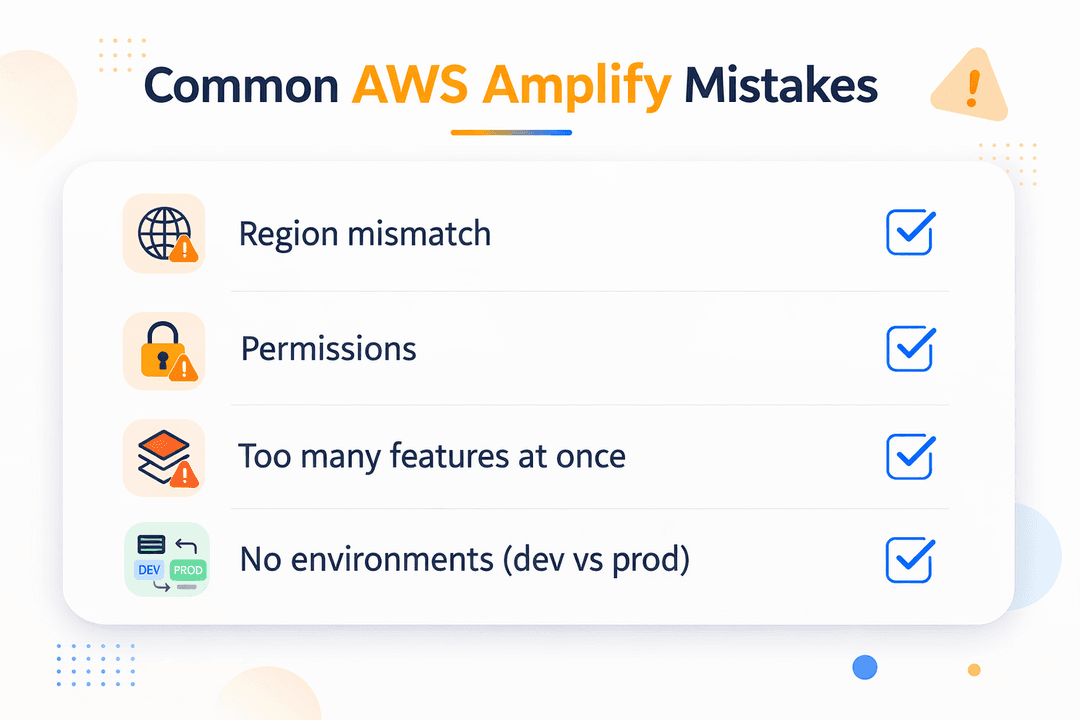
1) Region mismatch
Some resources get created in one AWS region and your app points to another.
Fix: pick one region early and stick to it.
2) Storage permissions confusion
Uploads work for you but fail for other users, or fail after deployment.
Fix: be deliberate about who can upload/download, and test with different auth states.
3) Adding everything in one go
Auth + API + Storage + Functions in one sitting = hard debugging.
Fix: add one feature, test it fully, then move to the next.
4) No clear dev vs prod environments
Everything lives in one environment, then you fear changes.
Fix: keep a clean dev environment and promote changes intentionally.
When Amplify might NOT be the best choice
Amplify is great but not for every scenario.
It may not be the best fit if:
- you need highly custom networking (VPC-heavy patterns) from day one
- you’re integrating into a large existing AWS platform with strict standards
- you need extremely fine-grained infrastructure control immediately
Wrap-up: a simple plan you can actually follow
If you’re new to AWS Amplify, don’t overthink it.
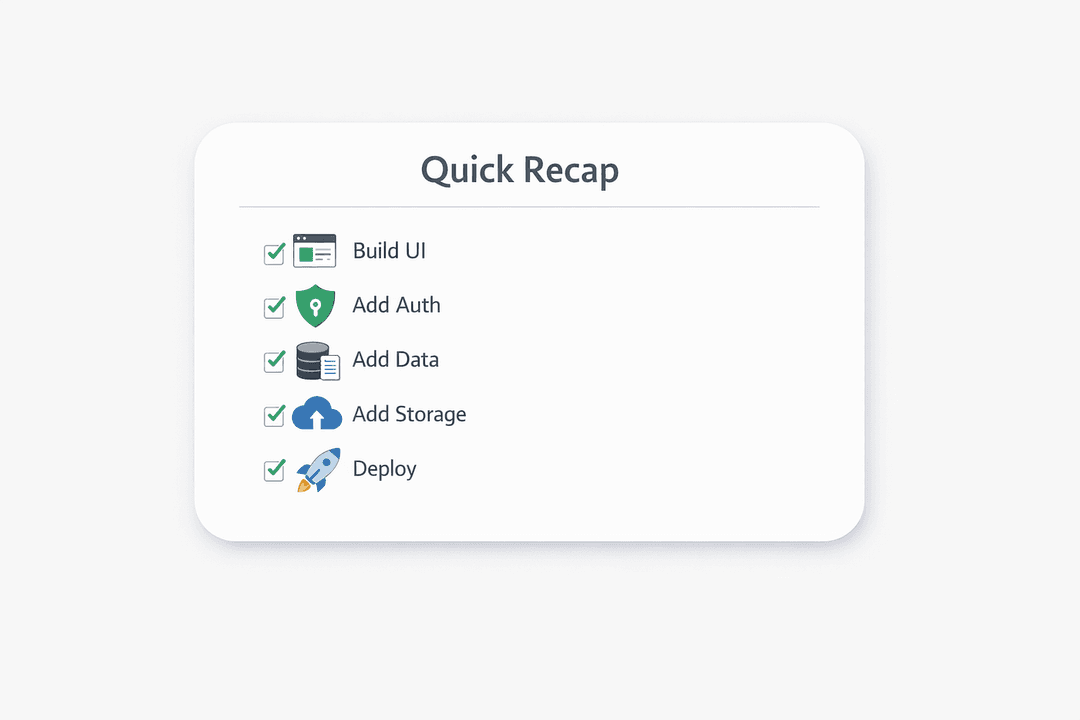
Start with a small app and follow this order:
- Build a basic React UI
- Add authentication
- Add a simple data model
- Add file storage
- Deploy early and test real-world behavior
That’s how you learn Amplify in a way that actually sticks.
Your turn
If you’ve tried AWS Amplify before, what part felt hardest?
Auth setup? Data modeling? Storage permissions? Deployments?
Share it in the comments , I’ll reply with the simplest approach for that specific problem.